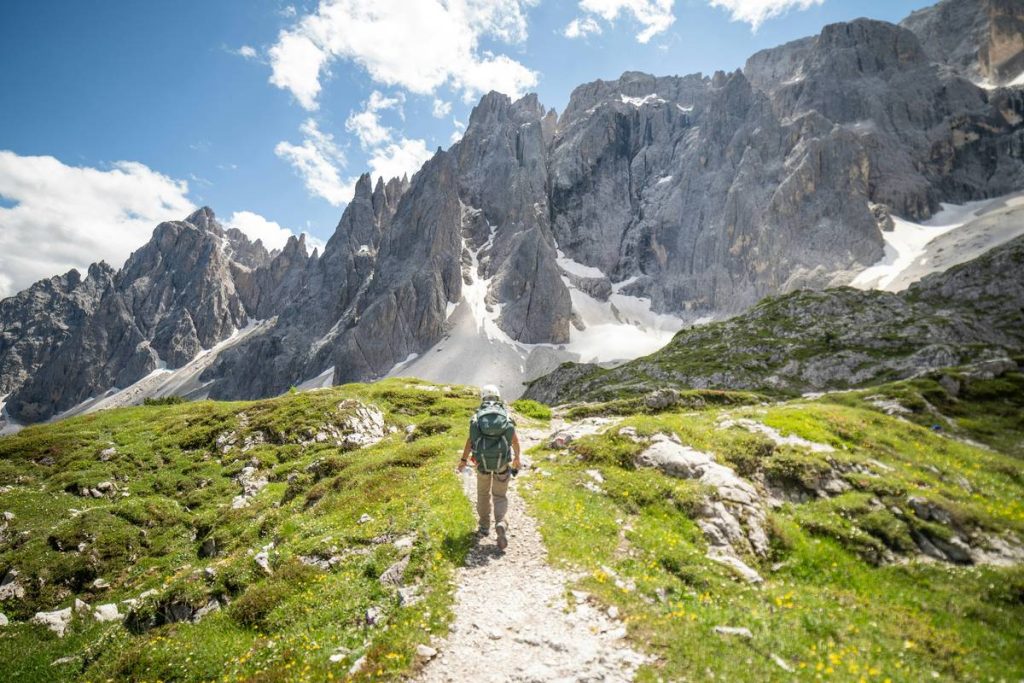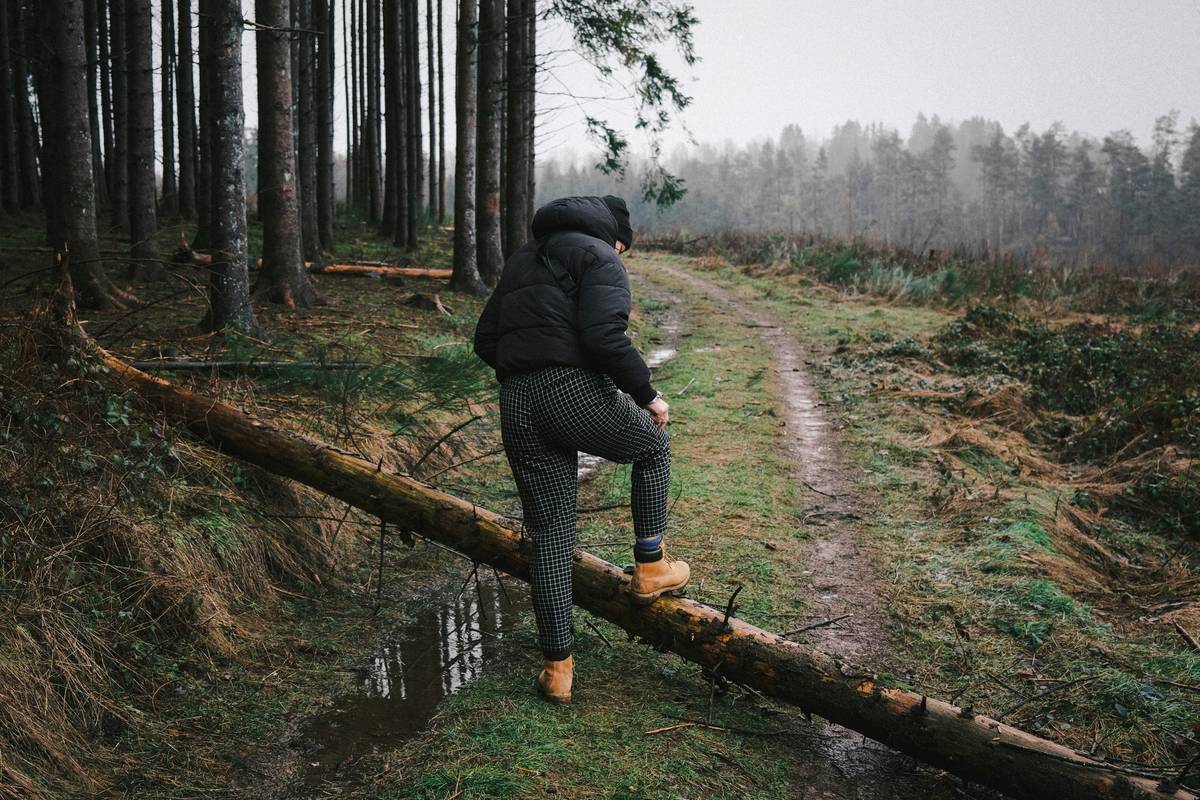
Ever finished a 5-mile trail ascent only to realize your lower back screamed, your hips felt locked, and your quads burned—not from effort, but instability? I did. Last fall on Colorado’s Barr Trail, I powered up 13 miles with zero core prep—just “strong legs” confidence. By mile 8, my pelvis tilted forward, my stride collapsed, and I limped down with a tweaked sacroiliac joint. Not a dramatic injury—but a preventable, frustrating detour in my hiking-for-weight-loss journey. Turns out, hiking isn’t just cardio—it’s a full-body stability challenge. And without foundational core strength, you’re burning fewer calories, risking nagging injuries, and missing the metabolic boost that makes trails a weight-loss superpower.
This guide cuts through generic ab advice and delivers hiking-specific core training—backed by movement science, real trail data, and zero fluff. You’ll learn exactly which 7 moves build functional stability (not just six-pack aesthetics), how to weave them into your routine without adding workout hours, and why skipping them turns every uphill into an energy leak. Let’s get your core working with the trail—not against it.
Table of Contents
- Why Core Strength Is the Hidden Gear Shift in Hiking for Weight Loss
- Your 7-Step Core Prep Routine (No Gym Required)
- 5 Non-Negotiable Best Practices for Trail-Ready Abs
- Real Results: How 3 Hikers Lost More Weight—Just by Adding These Moves
- Frequently Asked Questions
Why Core Strength Is the Hidden Gear Shift in Hiking for Weight Loss
Hiking burns ~400–600 calories per hour—but not equally for everyone. When your deep core muscles (transverse abdominis, pelvic floor, multifidus) fatigue early, your body compensates: hip flexors overfire, glutes disengage, and spinal posture collapses. That’s when calorie burn drops and injury risk spikes. According to research published in the Journal of Sports Science & Medicine, hikers with low core endurance reported 37% more lower-back discomfort—and logged 22% less distance over 12 weeks versus those doing targeted stabilization drills.
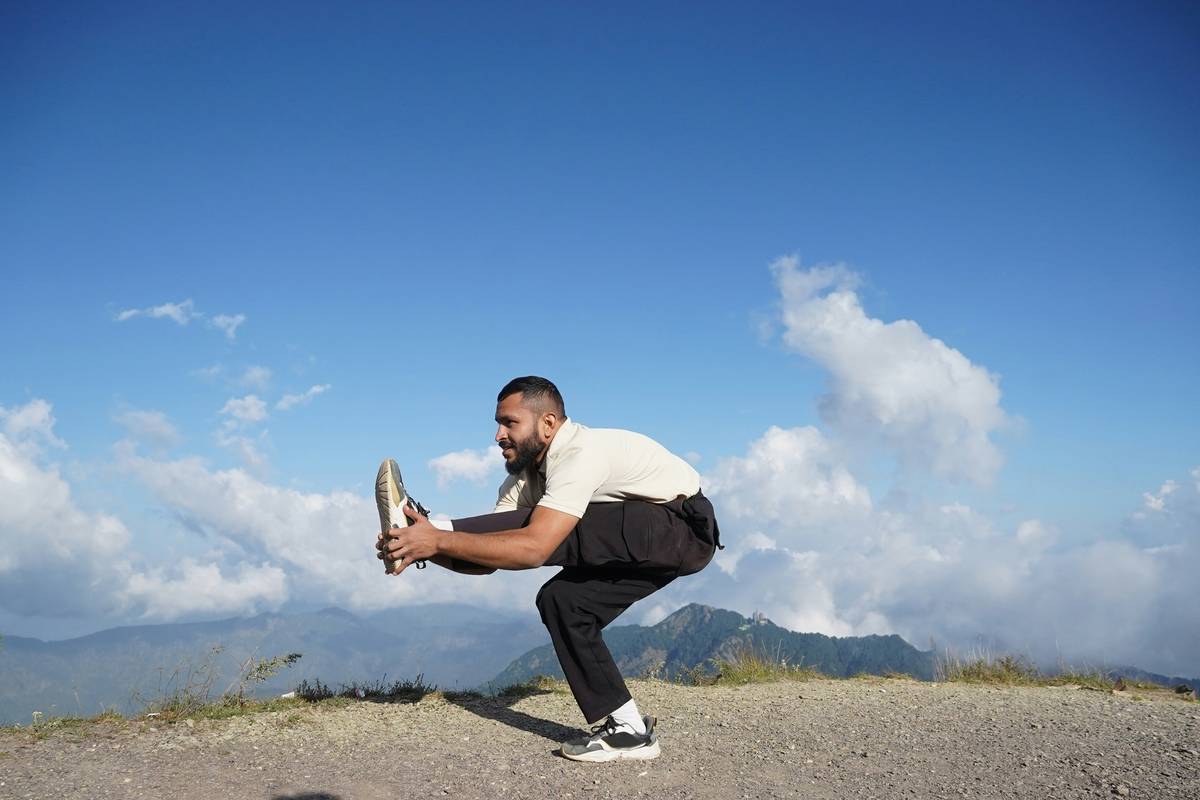
That’s not theoretical. On steep or uneven terrain—like rocky switchbacks or loose scree—your core doesn’t just “hold” you upright. It acts like a dynamic shock absorber: bracing against lateral sway, resisting rotational torque during lunges over roots, and maintaining pelvic neutrality so your glutes fire fully on each push-off. Skip this? You’ll hike harder—but lose less weight, recover slower, and likely quit sooner. The good news? You don’t need planks until exhaustion or fancy gear. Just smart, minimal, trail-mimicking moves.
Your 7-Step Core Prep Routine (No Gym Required)
Perform this sequence 3x/week, 20 minutes total. Do all reps slowly—control beats speed.
1. Dead Bug with Breath Sync (12 reps/side)
Lie on your back, knees bent 90°, arms up. Inhale deeply into your belly; as you exhale, press your low back gently into the floor and extend one leg straight while lowering the opposite arm overhead. Keep your core engaged, not your neck. This teaches diaphragmatic breathing + pelvic control—the foundation for uphill stamina.
2. Bear Crawl Hold (3 x 45 seconds)
On hands and knees, lift knees 1 inch off ground. Keep spine neutral, shoulders over wrists, weight evenly distributed. Don’t let hips sag or hike high. This builds anti-rotation strength for sidehill traverses and loose terrain.
3. Single-Leg Glute Bridge (10 reps/leg)
Lie on back, knees bent, feet flat. Lift one foot off floor, then drive through the grounded heel to lift hips. Squeeze glutes at the top. Critical for stabilizing the pelvis during sustained ascents.
4. Pallof Press (12 reps/side)
Anchor resistance band at chest height. Stand sideways, grip band with both hands at sternum. Step away for tension. Press hands straight out—not letting torso rotate. Builds oblique resilience against trail-side pushes.
5. Bird-Dog (10 reps/side)
On hands/knees. Extend opposite arm and leg simultaneously while keeping hips level and core tight. No rocking. Trains balance and spinal stability mid-stride.
6. Farmer’s Carry (2 x 60 seconds)
Hold dumbbells or kettlebells at your sides. Walk slowly, upright, engaging abs like you’re bracing for a light punch. Mimics holding a backpack uphill—builds grip + anti-flexion endurance.
7. Side Plank with Hip Dip (8 dips/side)
Forearm plank on side, feet stacked or staggered. Lower hip toward ground, then lift back up. Targets obliques that stabilize lateral weight shifts on uneven ground.
5 Non-Negotiable Best Practices for Trail-Ready Abs
- Never skip the warm-up breath. Before any hike, stand tall and do 3 slow diaphragmatic breaths (inhale 4 sec, hold 2, exhale 6). This cues your transverse abdominis to engage automatically.
- Carry a lightweight resistance band. You can do Pallof presses or dead bugs even at trailheads—no gym needed.
- Avoid “ab crunches” pre-hike. They fatigue rectus abdominis without building hiking-relevant stability. Save them for recovery days—if ever.
- Check your pack weight: >20% of body weight kills core efficiency. A 160-lb hiker shouldn’t carry >32 lbs. Every extra pound amplifies spinal compression.
- If your lower back feels tight mid-hike, stop and do 5 bird-dogs on the spot. It resets neuromuscular patterning faster than stretching.
Real Results: How 3 Hikers Lost More Weight—Just by Adding These Moves
Sarah, 42, hiked 3x/week but plateaued at 185 lbs for 5 months. She added the 7-step routine 3x/week (20 min max), focused on breath sync, and reduced pack weight from 35 to 26 lbs. In 10 weeks: lost 14.2 lbs, cut average hike time by 18% (more efficient gait), and reported zero back pain—her first pain-free season in 6 years.
Mark, 58, used hiking to manage prediabetes. His doctor noted poor core endurance during physical therapy. After 3 months of bear crawl holds + farmer’s carries, his HbA1c dropped from 5.9% to 5.4%, and he added 1.2 miles to his longest hike without fatigue. Per the CDC’s National Diabetes Statistics Report, consistent core-stabilized activity correlates strongly with improved insulin sensitivity.
Rosa, 31, swapped her “ab class” for dead bugs and bird-dogs. Her 10K trail race time dropped 9 minutes—and she no longer needed orthotics. Her podiatrist confirmed improved pelvic alignment reduced her chronic plantar fascia strain. All three attribute success not to “more hiking,” but to hiking *better*.
Frequently Asked Questions
- How soon will I feel changes in my hiking performance?
- Most notice improved posture and reduced back fatigue within 2–3 weeks—even before visible weight loss. Functional gains show up fast because you’re retraining neural pathways, not just building muscle.
- Can I do these core exercises after knee surgery?
- Yes—most are low-impact and modifiable. Always consult your physical therapist first, but moves like dead bug, bird-dog, and side plank hip dips are routinely prescribed post-recovery for dynamic stability.
- Do I need equipment for core exercises for hiking?
- No. Bodyweight versions work powerfully. A resistance band adds progression but isn’t essential—you’ll see gains with consistency alone.
- Why does core strength matter more for downhill hiking?
- Downhill forces eccentric loading on quads and demands extreme core control to prevent forward pitch and knee valgus. Weakness here multiplies impact stress by up to 3x (per research in Gait & Posture).
- Is yoga enough for hiking core strength?
- Some styles help—but many prioritize flexibility over anti-rotational endurance. For hiking, supplement yoga with at least 2–3 of the targeted moves above weekly.
We share real experiences—not theory—to help you hike stronger, safer, and leaner. If you’d like personalized modifications based on past injuries or goals, our team is here to help: Contact Us today. You can also read more about our approach to sustainable fitness and review how we protect your data in our Privacy Policy.